CL&A - Cincinnati, Lawrenceburg & Aurora Electric Street Railroad
Harrison Branch
Photographs from Valley Junction to Harrison
CL&A right-of-way along Kilby Road in Whitewater Township
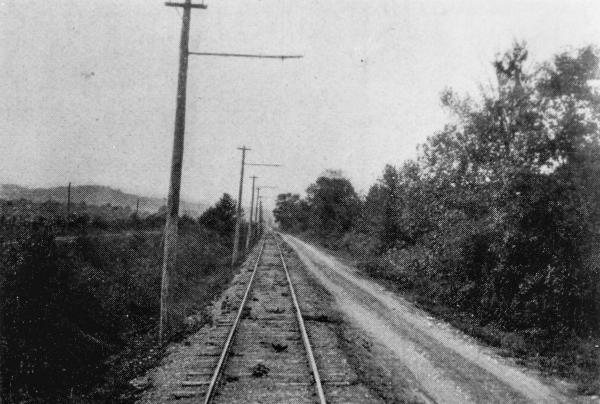
Historic photo of the CL&A Harrison Branch, Big Four Whitewater Division tracks, and Kilby Road crossing Dry Fork Creek
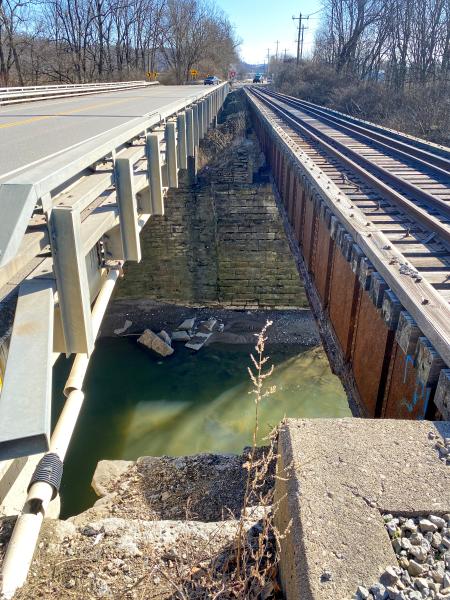
Current photo of the I&O Brookville Subdivision tracks and Kilby Road crossing Dry Fork Creek
Underneath the Dry Fork Creek bridge
Detail view of the Dry Fork Creek bridge south abutment
Underneath the Dry Fork Creek bridge,
Underneath the Dry Fork Creek bridge
Underneath the Dry Fork Creek bridge
Underneath the Dry Fork Creek bridge
0010_IMG_0133
Standing on the location of the CL&A bridge over Dry Fork Creek
Historic photo of a CL&A car captioned "From gravel pit, looking northwest. The Whitewater River in the distance...Stop No. 122."
Historic photo of a wreck at the gravel pit near Harrison due to a spread rail
Historic photo of the CL&A captioned "A stretch of track near Simonson. Stop No. 123."
Recent photo of the restored CL&A Simonson Station, stop #123
Historic photo of the CL&A captioned "One of a thousand gems along the old Whitewater Canal. Stop No. 124."
Historic photo of the CL&A captioned "The Four Ages"
Historic photo showing the CL&A right-of-way near Harrison
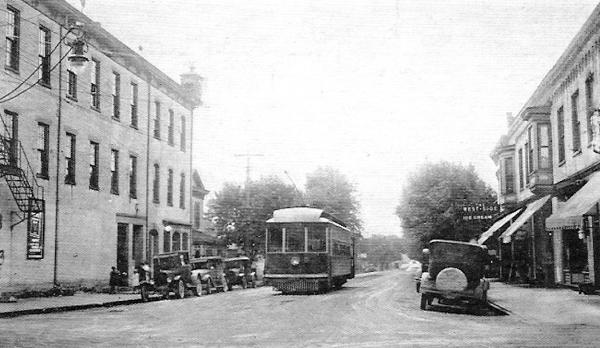
Historic postcard of CL&A car #25 laying over at the end of the line at State Street and Harrison Avenue in Harrison
Historic postcard showing the CL&A in Harrison
Historic night scene of the CL&A Harrison Branch at an unspecified location
Generated by
jAlbum 23
,
Jupiter 9